Content creators waste hours each week manually tagging screenshots for social media planning. Manual tagging leads to inconsistent organization, missed content opportunities, and decision fatigue when managing hundreds of visual assets.
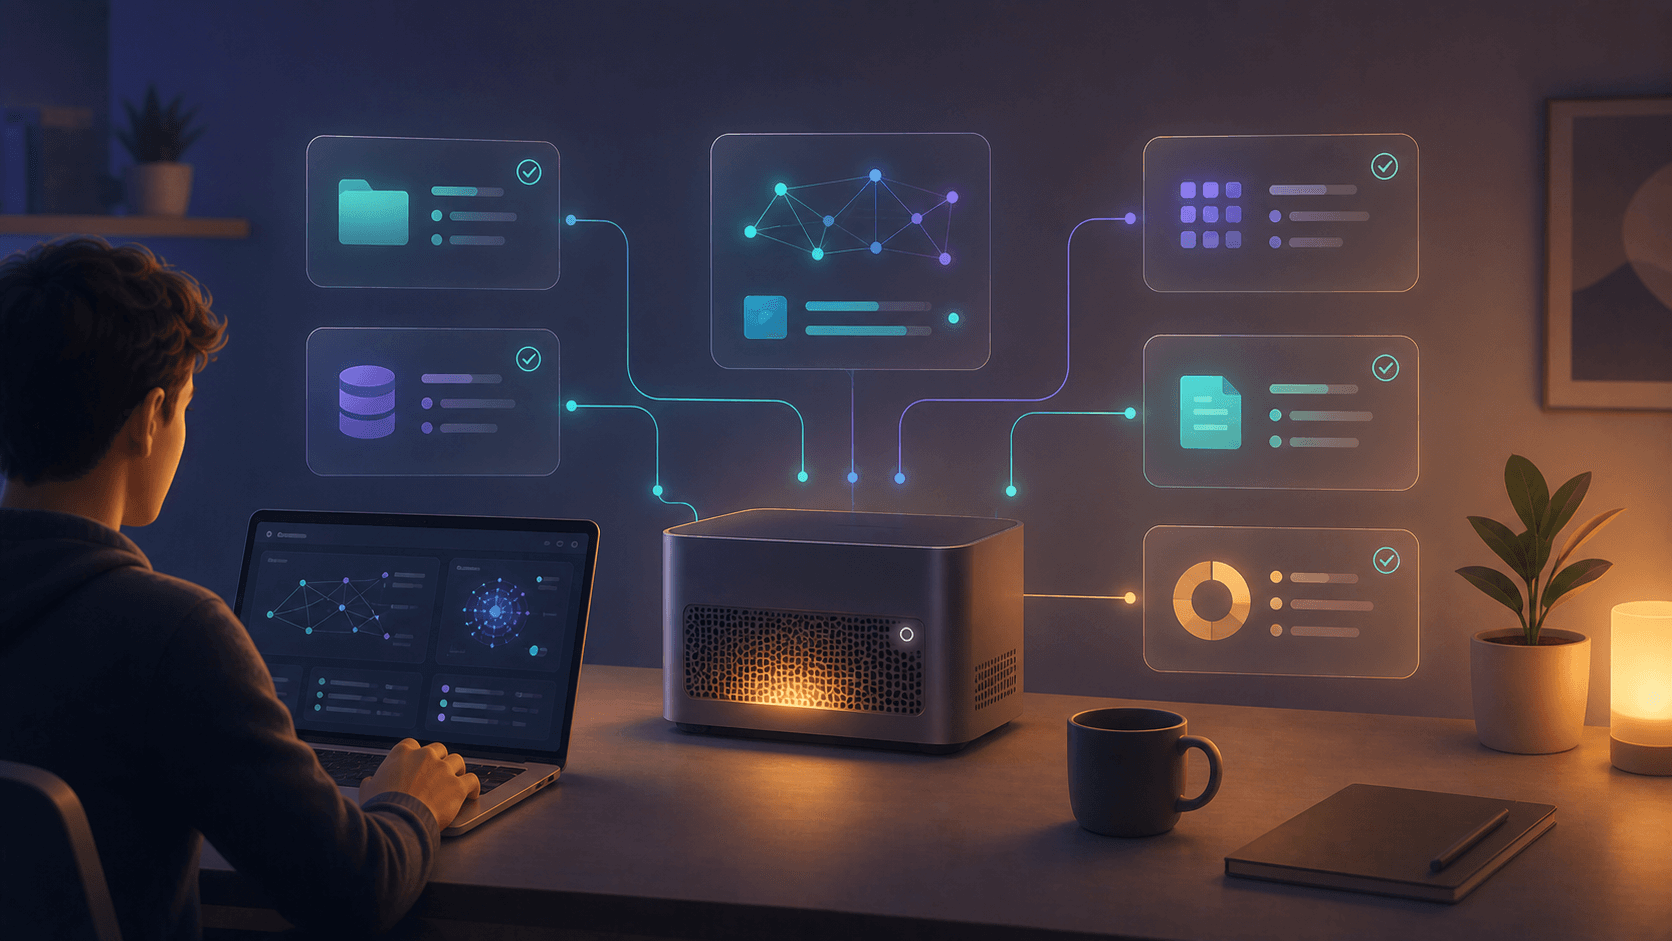
Running vision models locally with n8n automation solves these problems while keeping your content private and eliminating recurring AI service fees. This guide shows you how to build an automated screenshot tagging system that processes images on your own computer and organizes them for social media planning.
The Problem with Manual Screenshot Organization
Content creators typically capture 50-200 screenshots weekly for social media posts, tutorials, and marketing campaigns. Each screenshot requires manual review and tagging to identify key elements like UI components, product features, or branding elements.
This manual process consumes roughly 3-5 minutes per screenshot. For creators managing 100 screenshots weekly, this translates to 5-8 hours of pure tagging work before any actual content creation begins.
Manual tagging also creates consistency problems. Tags like "website," "web interface," and "UI" might all refer to the same concept, making content discovery difficult when planning social campaigns.
Tools Required for Local Vision Processing
This workflow requires specific tools that work together to process images without cloud dependencies:
- n8n for workflow automation
- Ollama for running local AI vision models
- LLaVA model (7B parameter version) for image analysis
- Python 3.8+ for custom script execution
- 8GB RAM minimum for stable model performance
Optional integration tools include Google Sheets for output organization and Dropbox for automated file monitoring.
Setting Up Local Vision Models
Download and install Ollama from the official website. Ollama simplifies running large language models locally without complex configuration.
Install the LLaVA vision model using this command:
ollama pull llava:7b
Test your installation by running:
ollama run llava:7b
The model download requires roughly 4GB of disk space. Initial startup takes 30-60 seconds depending on your hardware specifications.
Building the n8n Screenshot Processing Workflow
Create a new n8n workflow with these seven connected nodes:
- Folder Trigger Node - monitors a designated screenshots folder
- File Read Node - converts image files to base64 format
- HTTP Request Node - sends images to local Ollama API
- Code Node - processes AI responses and extracts tags
- Data Transformation Node - formats tags for consistency
- Google Sheets Node - saves organized data
- Move File Node - archives processed screenshots
Configure the Folder Trigger to watch your screenshots directory with a 10-second polling interval. Set file filters to accept only PNG, JPG, and WebP formats.
The HTTP Request Node connects to http://localhost:11434/api/generate with this payload structure:
{
  "model": "llava:7b",
  "prompt": "Analyze this screenshot and provide 5-8 relevant tags for social media categorization. Focus on UI elements, content type, and visual features. Return only comma-separated tags.",
  "images": ["{{ $node['File Read'].json.data }}"],
  "stream": false
}
Processing Images with Local AI
The Code Node extracts and cleans the AI response using this JavaScript logic:
const response = $node['HTTP Request'].json.response;
const tags = response.split(',').map(tag => tag.trim().toLowerCase());
const cleanTags = [...new Set(tags)].filter(tag => tag.length > 2);

return {
  filename: $node['Folder Trigger'].json.name,
  tags: cleanTags.join(', '),
  processed_date: new Date().toISOString(),
  confidence: 'local_processing'
};
The Data Transformation Node standardizes tag formats by removing duplicates, converting to lowercase, and filtering out common words like "the" or "image."
Visual Workflow Logic
Screenshot File → Folder Trigger → File Read → Base64 Conversion
     ↓
Local Ollama API ← HTTP Request ← Image Data
     ↓
AI Response → Code Node → Tag Extraction → Data Transform
     ↓
Google Sheets ← Formatted Data → Archive File → Completed
This flow processes each screenshot independently, allowing batch processing of multiple files without workflow conflicts.
Real Screenshot Tagging Example
Input Screenshot: Product dashboard interface showing analytics charts
Raw AI Output:
dashboard, analytics, charts, data visualization, business interface, metrics, graphs, software ui, reporting tools
Formatted Tags: dashboard, analytics, charts, data-viz, business-ui, metrics, reporting
Google Sheets Entry:
| Filename | Tags | Date | Processing Time |
|---|---|---|---|
| dashboard_screenshot.png | dashboard, analytics, charts, data-viz, business-ui, metrics, reporting | 2026-03-15 | 2.3 seconds |
Performance and Accuracy Expectations
Local vision model processing typically takes 2-4 seconds per image on hardware with 16GB RAM and a modern CPU. GPU acceleration can reduce this to under 1 second per image.
Tag accuracy varies by content type. UI screenshots achieve roughly 85-90% relevant tag accuracy, while complex scenes or abstract content may drop to 70-75% accuracy.
The LLaVA 7B model requires approximately 6GB of RAM during operation. Smaller models like LLaVA 1.5B use less memory but provide reduced accuracy for complex images.
Before vs After Workflow Comparison
| Metric | Manual Process | Automated System |
|---|---|---|
| Time per screenshot | 3-5 minutes | 2-4 seconds |
| Weekly time cost | 5-8 hours | 10-15 minutes setup |
| Tag consistency | Variable | Standardized format |
| Processing cost | Labor time | Hardware electricity |
| Privacy concerns | None | Complete local control |
The automated system processes roughly 900-1800 screenshots per hour compared to 12-20 screenshots per hour manually.
Optimizing Local Performance
Monitor system resources during batch processing to prevent memory overflow. Process screenshots in groups of 10-20 files for optimal performance on 8GB RAM systems.
Configure n8n execution limits to prevent overwhelming your local AI model. Set maximum concurrent executions to 1 for stability with resource-constrained hardware.
Tip: Schedule batch processing during off-hours to avoid impacting other computer usage. Large screenshot batches can consume significant CPU resources for 30-60 minutes.
Use image preprocessing to resize screenshots larger than 1920x1080 pixels before AI analysis. Smaller images process faster without significantly impacting tag accuracy.
Scaling and Maintenance
Local vision models require minimal ongoing maintenance once configured properly. Monitor disk space usage as processed screenshots accumulate in archive folders.
Update the Ollama model quarterly using ollama pull llava:7b to access improved accuracy and performance optimizations.
Backup your n8n workflow configuration monthly to prevent data loss from system updates or hardware changes.
The workflow scales effectively to process thousands of screenshots monthly on mid-range desktop hardware without requiring cloud service subscriptions or external API dependencies.
This local approach provides content creators with consistent, private, and cost-effective screenshot organization that integrates seamlessly with existing social media planning workflows.
You May Also Want to Read
- How to Automate Content Repurposing Ai Turn 1 Article Into 10 Social Posts With Zapier Claude
- How To Build Ai Social Media Scheduler No Code With Zapier And Claude Api
- Best Local Ai Models For Coding Writing And Research In 2026